This tutorial will guide you through the steps to create a subscription plan with the WooCommerce Subscriptions Add On and the WP Pay Per View plugin.
WooCommerce Subscriptions provides a Subscription Role feature to setup and associate a user with a specific role automatically after they complete payment of a product with the subscription product type. But it DOES NOT allow specifying different roles when creating a variable subscription product. WP Pay Per View has added this feature that allows you to specify different roles for each variation. Users who choose different variations will be applied to different roles.
WP Pay Per View provides a Watch for Free feature on the Edit Product page that allows you specify which roles of users can watch the videos of the product.
You can set up a subscription plan by combining the Subscription Role and Watch for Free features.
Prerequisites
- A website with WordPress, WooCommerce and WP Pay Per View installed.
- WooCommerce Subscription Add On installed.
- User Role Editor plugin
Steps
Create multiple roles for your subscription plans
- Dashboard -> Users -> User Role Editor
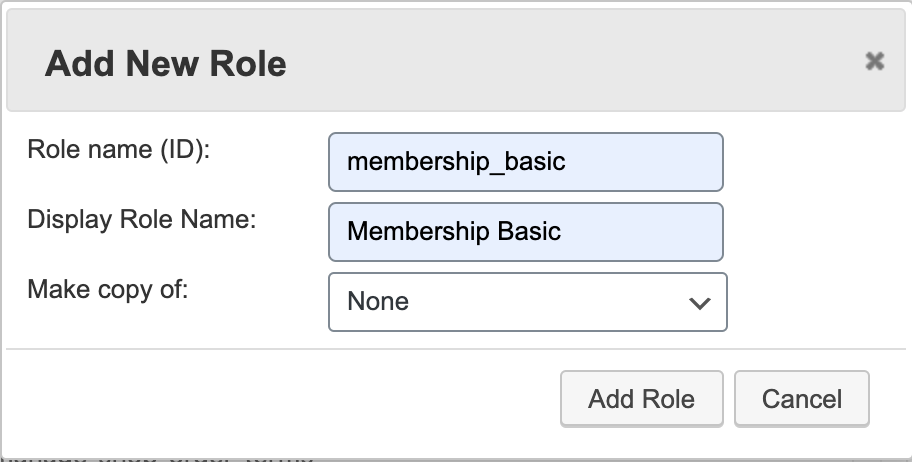
- Click Add Role button.
- Enter Role name (membership_basic) and Display Role Name (Membership Basic), then click Add Role.
- Add another role: Role name (membership_pro) and Display Role Name (Membership Role).
The new roles for subscription users should not be specified any other permissions except read.
Specify different roles when creating a Variable Subscription Product
- Dashboard -> Products -> Add New.
- Enter Subscription Plan Demo as Product Title
- Select Variable subscription as product type.
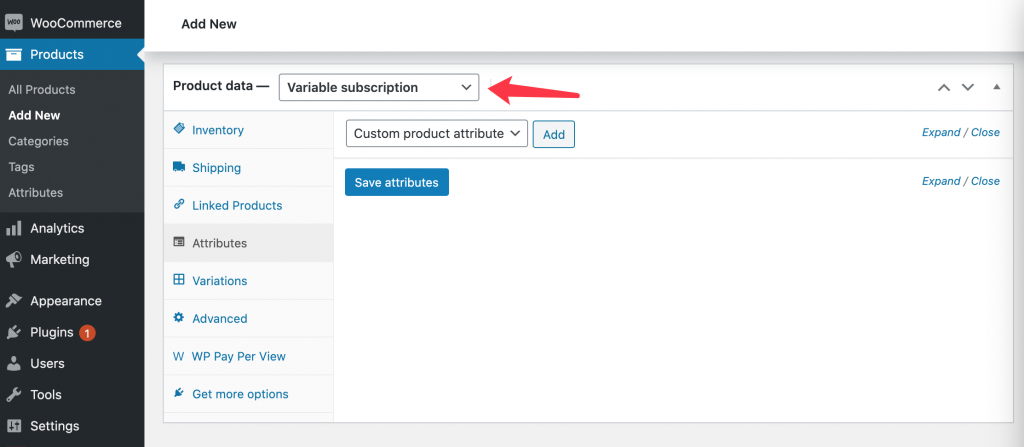
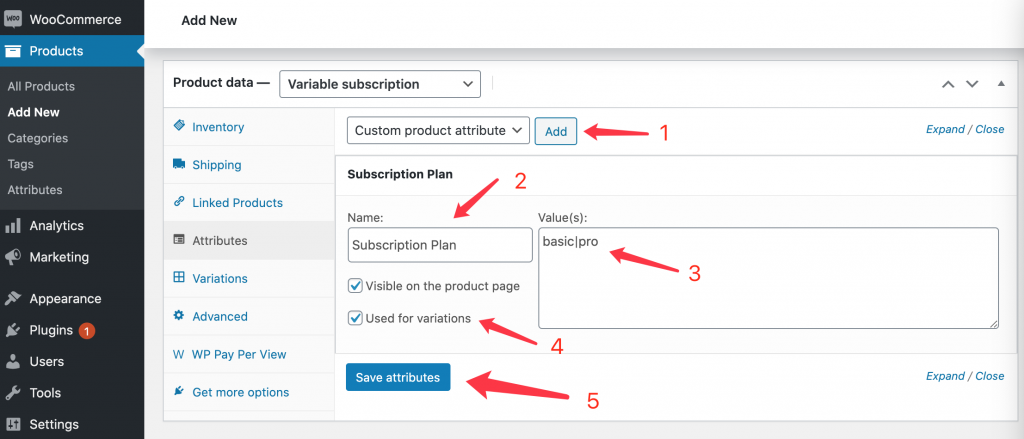
- Toggle to the Attributes tab and click the Add button.
- Enter the Subscription Plan under Name.
- Enter basic|pro in the Values(s) field. WooCommerce uses “|” to divide each attribute value.
- Check Used for variations.
- Click the Save attributes button.
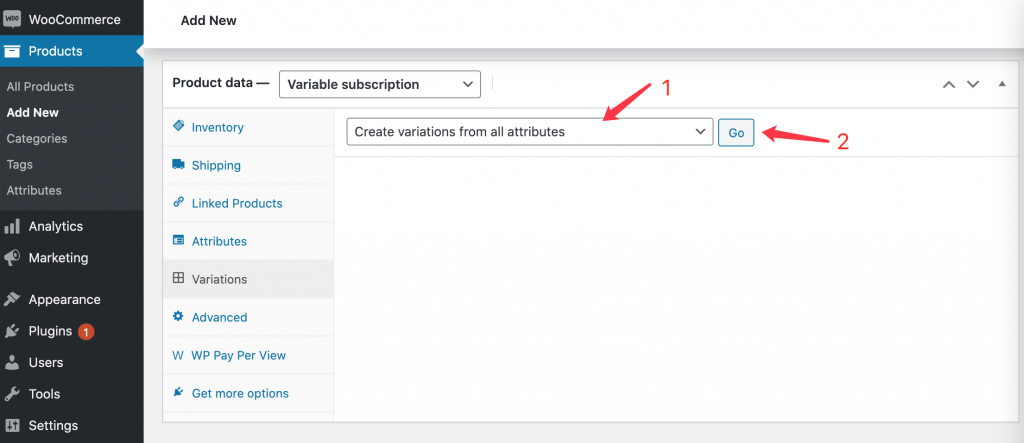
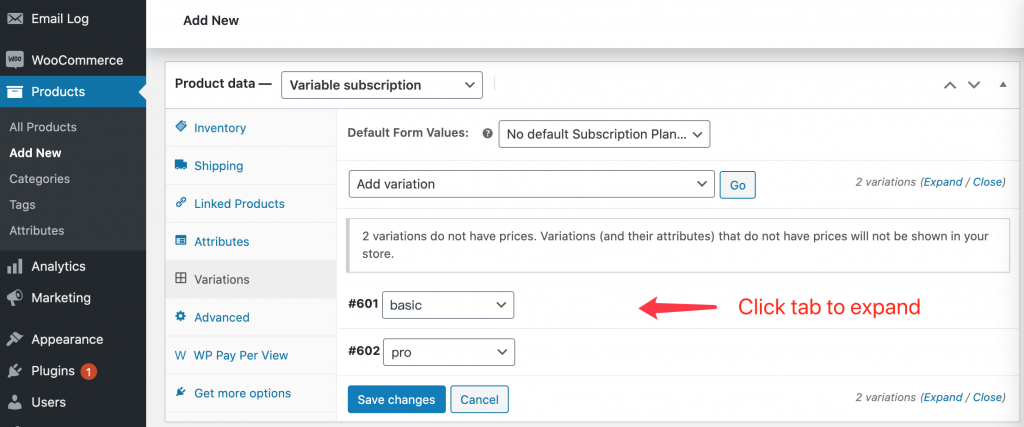
- Toggle to the Variations tab, then choose Create variations from all attributes and click the Go button.
- Click OK for this confirmation message: “Are you sure you want to link all variations?” This will create a new variation for each and every possible combination of variation attributes (max 50 per run).
- Click OK again.
- Then click a tab to expand a variation settings fields.
- You should learn how to setup Sign-up fee ($), Free trial, Subscription price ($) and Expire after with this WooCommerce official video tour before you set up these plans.

- Specify different subscription roles for each variation. (Membership Basic for basic, and Membership Pro for pro)
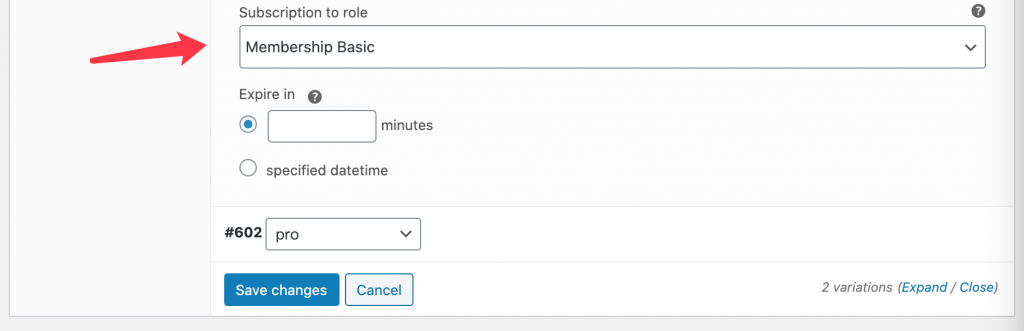
- Click the Publish button to save the product.
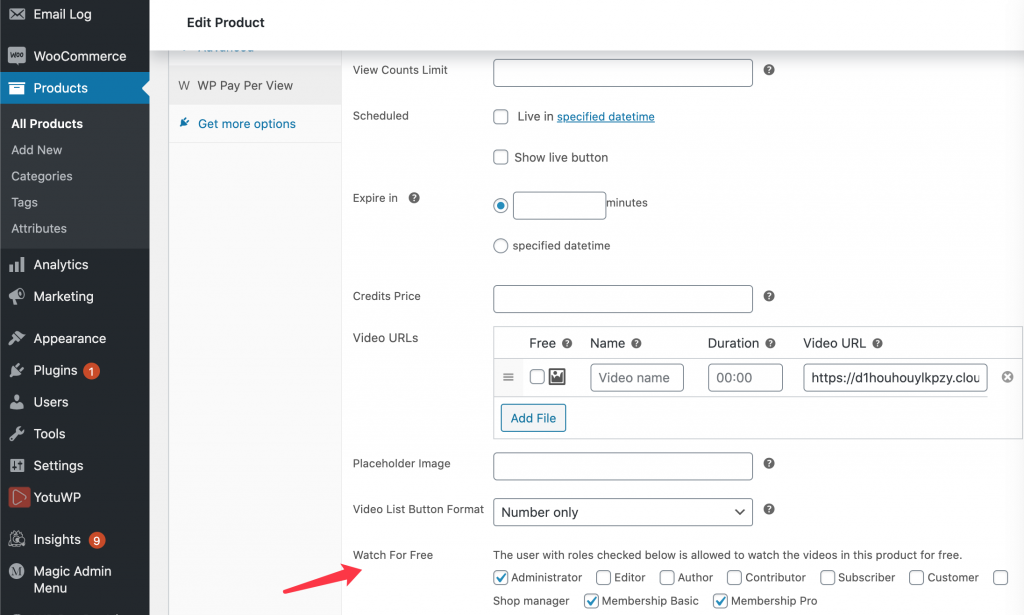
Specify Watch for Free roles in your video products
- Dashboard -> Products -> All Products, click to edit a video product that you already created.
- Edit Product -> WP Pay Per View, Check the roles that you want users with the roles to watch this video for free.
- Click the Update button to save your settings.
That’s all, you need to configure sWatch For Free for each video product and you can then start selling your subscription plans.
Recent Comments